
Add a refinement region around a body
Put cells where the flow is interesting — a wake, a separation region, a gap — without refining the whole domain.
Runs on the free tier, subject to the cell cap.
Refine the surface
Section titled “Refine the surface”Select Refinements. The Surface refinement section applies to the geometry itself:
- Level min — every cell touching the surface reaches this level.
- Level max — reached only where the surface curves more sharply than Feature angle.
- Feature angle (degrees) — which edges get chased down to the surface level. Lower it towards 20 for a body with shallow curvature that is being missed; raise it towards 60 when feature refinement is running the cell count away.
- Cells between — buffer cells between levels. Higher is smoother and gives better quality, at more cells.
- Max cells — a hard budget. Refinement stops when it is reached, so the mesh may not achieve the levels above.
The read-out under them gives the resulting base and surface cell sizes and an
estimated cell count. It turns amber when the estimate exceeds Max cells.
With a section active in the viewport it adds a section preview <n> cells
line, and (preview budget reached) when the preview stopped short.
The Snapping section below holds what to reach for when the mesh has snapped badly onto a feature — Snap iterations first, which costs meshing time and nothing else.
Add a volumetric region
Section titled “Add a volumetric region”- Press + Add refinement region.
- Decide what the region follows. The picker at the top of the card offers Its own extents or a named box or sphere primitive; a primitive keeps the two in step, so moving the box moves the refinement with it. The controls below are for a region carrying its own extents.
- Set Shape —
boxorsphere. - Set Mode:
inside— refine cells within the shape.outside— refine cells beyond it.distance— refine within a Distance of the shape.
- Set Level — the refinement level applied inside the region.
- Set Placement:
relative— size the box with Ahead, Wake, Sides, Above and Below. These are in body lengths (L) off the geometry bounding box, so a wake box is a large Wake and modest values elsewhere, and the region follows the model.absolute— Min x … Max z, six fields in metres in the case’s own axes. Switching to absolute carries the box already described across rather than jumping to the domain corners.
Each region card has an enable/disable link and a ✕ to remove it. Disabled regions stay in the case and are not meshed.
Then re-mesh
Section titled “Then re-mesh”Press Model → MESH → Generate mesh. Refinement regions have no effect until the mesh is regenerated — the viewport preview follows the settings live, the mesh on disk does not, and Mesh says so when the two have diverged.
Check it worked
Section titled “Check it worked”- The cell-count estimate on Refinements rose by roughly the factor you expected.
- After meshing, Quality still passes: refinement that pushes non-orthogonality or skewness up has cost you more than it bought.
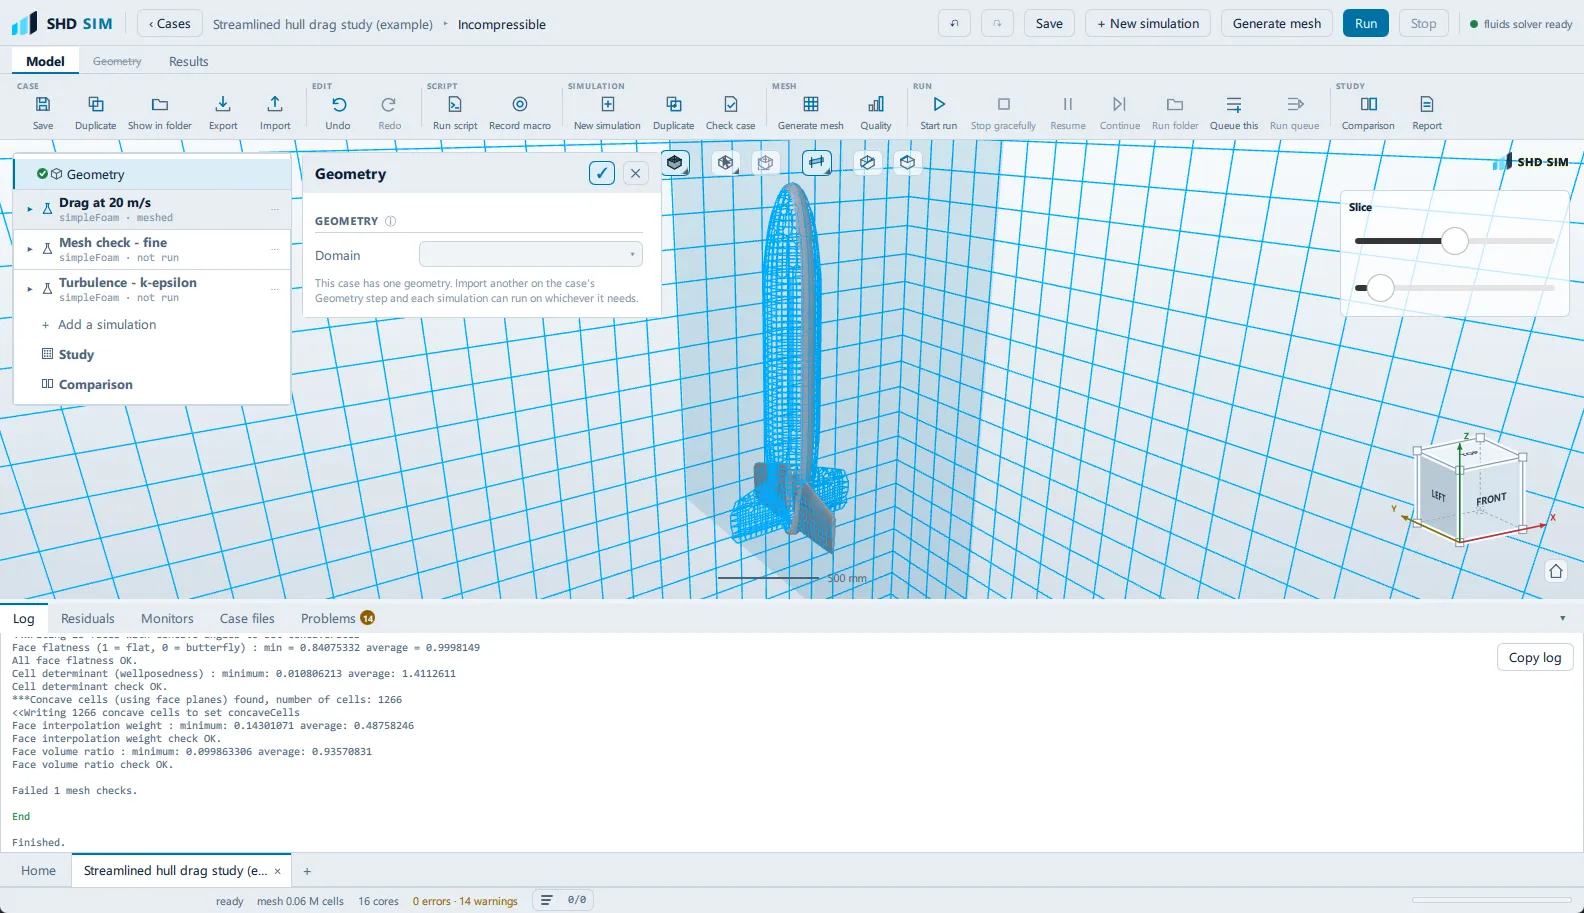
- In the viewport, look at the cells. Under Geometry, Display →
Mode takes
Surfaces,Wireframe,SurfacesWithEdgesorTranslucentWithEdges, and the separate Section combo directly under it takesNone,CliporSlice. A section applies on top of the display mode rather than replacing it, soSurfacesWithEdgeswithSliceis what shows the small cells where you put the region.
Why the levels matter rather than a target size: Concepts.